


Last year, when I taught 2nd grade, we had a big genre unit at the beginning of the year. It was only fitting that my book library would be sorted by genre and theme. However, in first grade, when the students are still learning how to read words, they are struggling to read the book bin theme/genre to figure out which category they want. I started thinking about how to make an A.R. library that works for the students.
So… I decided to revamp my classroom library completely. I went with the A.R. (Accelerated Reader) points. If you aren’t familiar with A.R., it is a computer program that the students can enter in their book title or book number and take a comprehension quiz on the book they just read.
Here is my Week-long Process Showing How to Make an A.R. Library:

Step 1:
Borrow Ms. Davis’s wheely book cart and bring about 100 books home a night. This bucket on wheels saved my life, preventing me from carrying these through my school and across the parking lot. Here is an affiliate link on Amazon to a teacher cart… (Link: Rolling Handcart)

Step 2:
Find A.R. Book Finder (www.arbookfind.com)

Step 3:
Enter your title into the search bar and find your book.
Step 4:
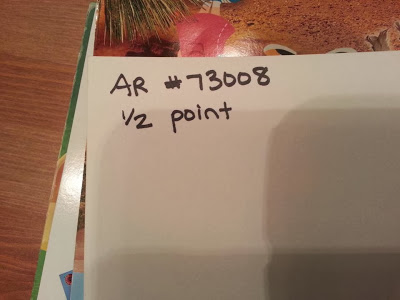
Write the A.R. book number in the inside flap of the book. This will help kids when they need to take the quiz. It’s so much easier for kiddos to type in 5-7 digits than to enter the title or author!
Want these dots for your AR labels? I’ll drop an affiliate link to Amazon here… (Link: Sticker Dots)
Step 5:
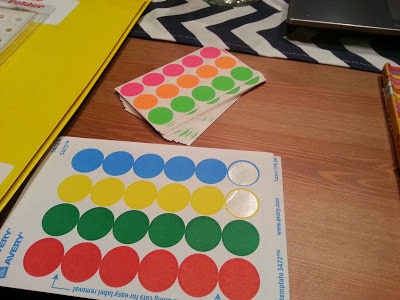
I leveled the books using colored dots. When you look up the A.R. quiz number, it’ll have a spot that has the reading level for the book.
- .5-1.5- Red sticker
- 1.6-2.0- Orange sticker
- 2.1-2.5 Yellow sticker
- 2.6-3.0 Green sticker
- 3.1-3.5 Blue sticker
- 3.6-4.0 Pink sticker
- 4.1-4.5 Double Red stickers
- 4.6-5.0 Double Orange stickers
- 5.1-5.5 Double Yellow stickers

Step 6:
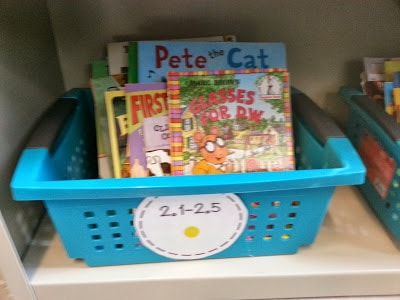
Stick the colored sticker on the bottom right side of the book and write the reading level on the sticker.

(Another example of how to make an A.R. library)

Step 7:
Sort the books by red, orange, yellow, etc., so you can put them in specific book bins for children’s easy access!

Step 8:
Get fabulous new book tubs from Target! Make book tub labels and put the sticker AND book level on the book bin.
Step 9:
Now, sort your books! (Or have your student helpers do it “as a learning experience”. Kidding! But seriously, they love to help and being involved in how to make an A.R. library makes them proud!!)

Step 10:
Finished!
Now you’ve seen how to make an A.R. library. Do not forget to actually teach the students about the sorting system. Some kiddos will still struggle at first with putting books back in their special home. But the colors are certainly easier to keep up with than the genres.
My kids are crazy about this! They get so excited when they read a red level book and get to move up to the orange level. We talk about “Just Right” books for readers. They get so excited when they learn that one level is “too easy” for them, so they can move onto the next level. P.S.- I still have two book tubs filled with books.
I had NO idea I had so many books. I’m about to head back to Target to get MORE book bins. So I will have two book bins for each color. You never know just how many books you have until you actually redo your library!
For more ideas on how to make an A.R. library, check out this post.