

We all know the summer slide is real, and it can affect your students. After spending nine months building skills, the last thing your want is for your students to lose progress over the summer. That’s why I put together these Summer Packets! They make it super simple to send home meaningful review activities that students can actually do.
And I promise… assembling them and getting them ready is way easier than it sounds. I’m walking you through the four simple steps I use to prep each summer packet. If you’re a visual person (like me), I’ve got images sprinkled throughout this post to help, too!
First… Quick Note About the Different Formats
There are 4 options in the Summer Practice Pack download:
- One-sided booklet
- Two-sided booklet
- plain paper
- digital version in Google Slides
I highly recommend the two-sided version. It uses the least amount of paper and it turns into a cute booklet! It’s truly the most classroom (and copy budget) friendly option.
Step 1: Print Summer Packet Format You Choose
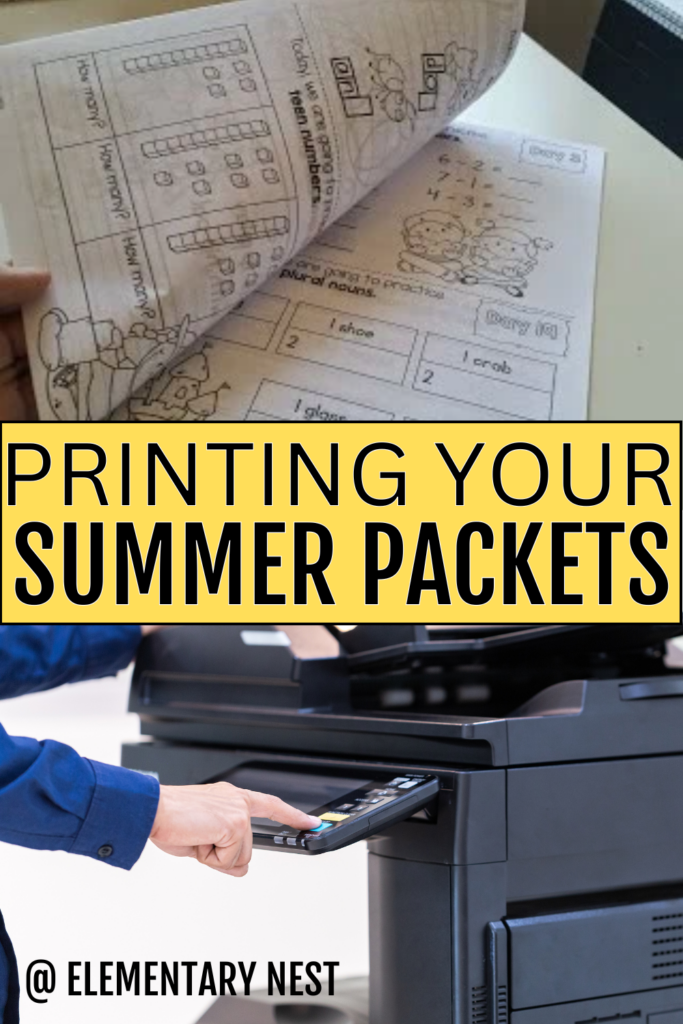
If you’re going with the two-sided version, make sure you’re printing front and back. This works best if you can select “flip on the short edge” in your printer settings.
If you’re not comfortable printing double-sided or don’t have that option available, you can always stick with the one-sided pages. It’ll just require a few more sheets per student.
Step 2: Cut the Summer Packet in Half
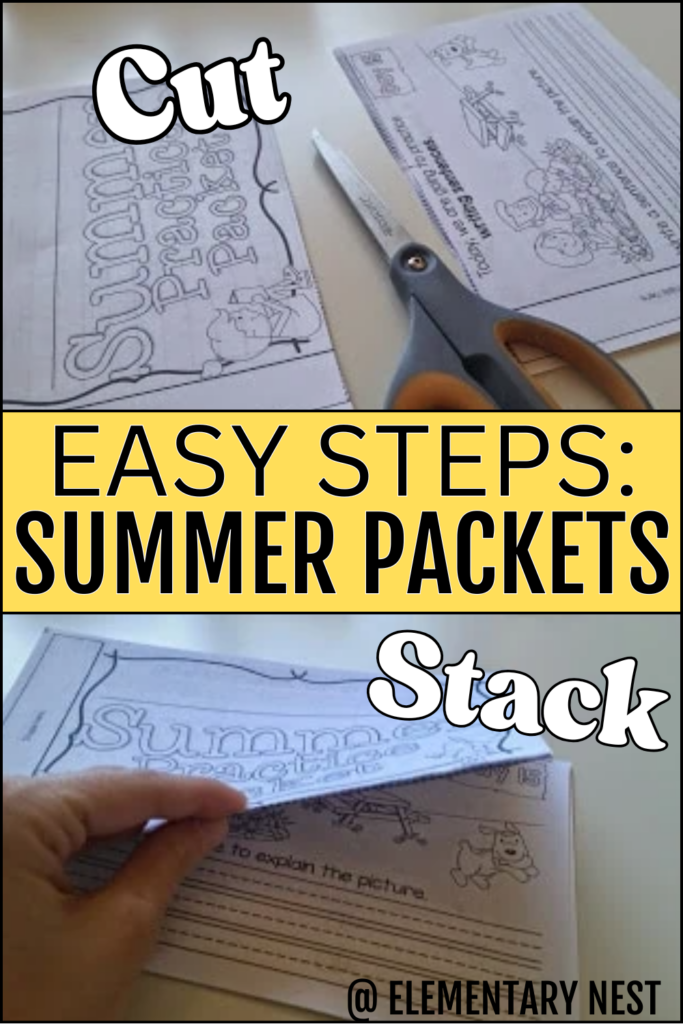
Now that everything is printed, take your stack and cut each page horizontally. Just slice right across the middle—nothing fancy required.
You’ll end up with two stacks: top halves and bottom halves. No need to hunt and organize papers. I have the pages set up in a way that you can just cut and stack.
Step 3: Stack and Line It Up
Grab the top half of the packet and stack it on top of the bottom half.
The summer packet is already organized in a way that there is no shuffling, sorting, or rearranging needed. It’s designed to line up perfectly once cut and stacked.
Step 4: Staple (or Tie!)
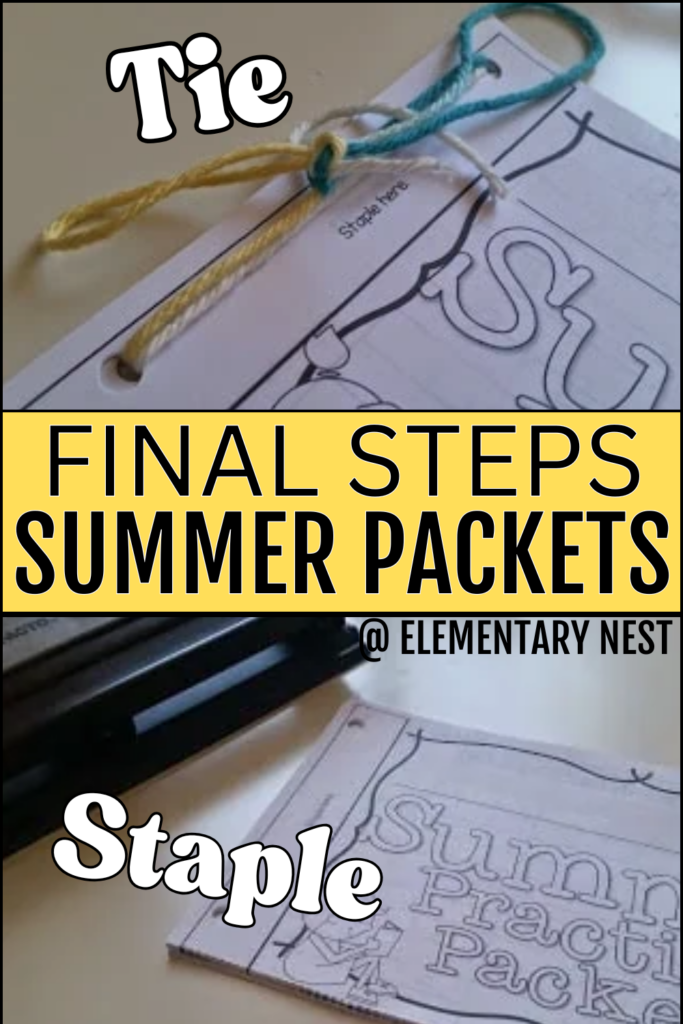
This is where you get to choose your binding method. If your stapler can handle it, go ahead and staple right along the side or top corner—whatever works best for you.
My favorite tool for this is the PaperPro One Finger Stapler (you can usually find it at Walmart or Amazon). It’s one of those little teacher-life hacks that just makes the job easier. If you’re curious, here’s my stapler affiliate link so you can check it out for yourself. I’ve used Swingline staplers too—they’re also great if you’re working with slightly bigger stacks. If you’re interested in this magical stapler, I’ll attach my affiliate link to Amazon! It makes stapling large sets of paper effortless.
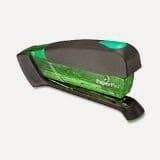
Can’t get your stapler to punch through the whole packet? No worries! Just use a hole punch and some yarn or ribbon to tie the corner.
Suggested Summer Practice Packets

Each packet includes 30 days of simple, engaging activities that cover essential reading, writing, math, and language skills. It’s enough to keep brains sharp over the summer without overwhelming kids (or parents).
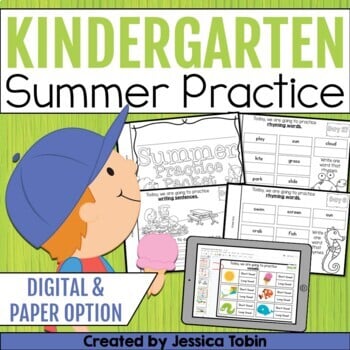
Summer Between Kinder and 1st Grade Review Packet

Summer Between 1st Grade and 2nd Grade Review Packet
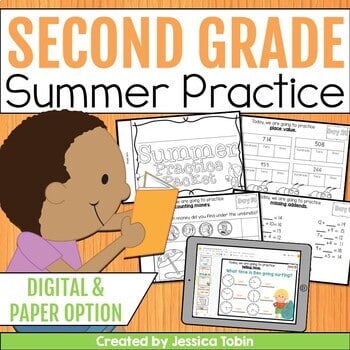
Summer Between 2nd Grade and 3rd Grade Review Packet
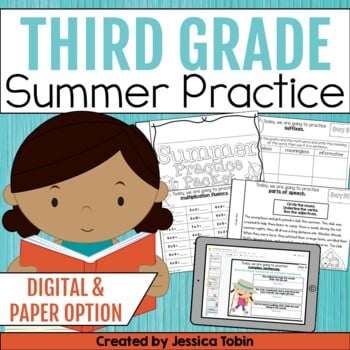
Summer Between 3rd Grade and 4th Grade Review Packet
Extra Tips to Help Prevent the Summer Slide
Want to do even more to support your students and their families? Here are a few extra ideas:
- Send home a book list of easy summer reads
- Encourage families to set up a simple daily routine for review
- Free educational websites or free learning games
You’ve Got This!
Setting up your summer review packets doesn’t need to take hours. You have enough on your plate this month! Once you’ve printed, cut, stacked, and stapled, you’ll be ready to send your students off with something meaningful that helps them retain what they’ve learned… and gives you peace of mind as they head into a new grade.